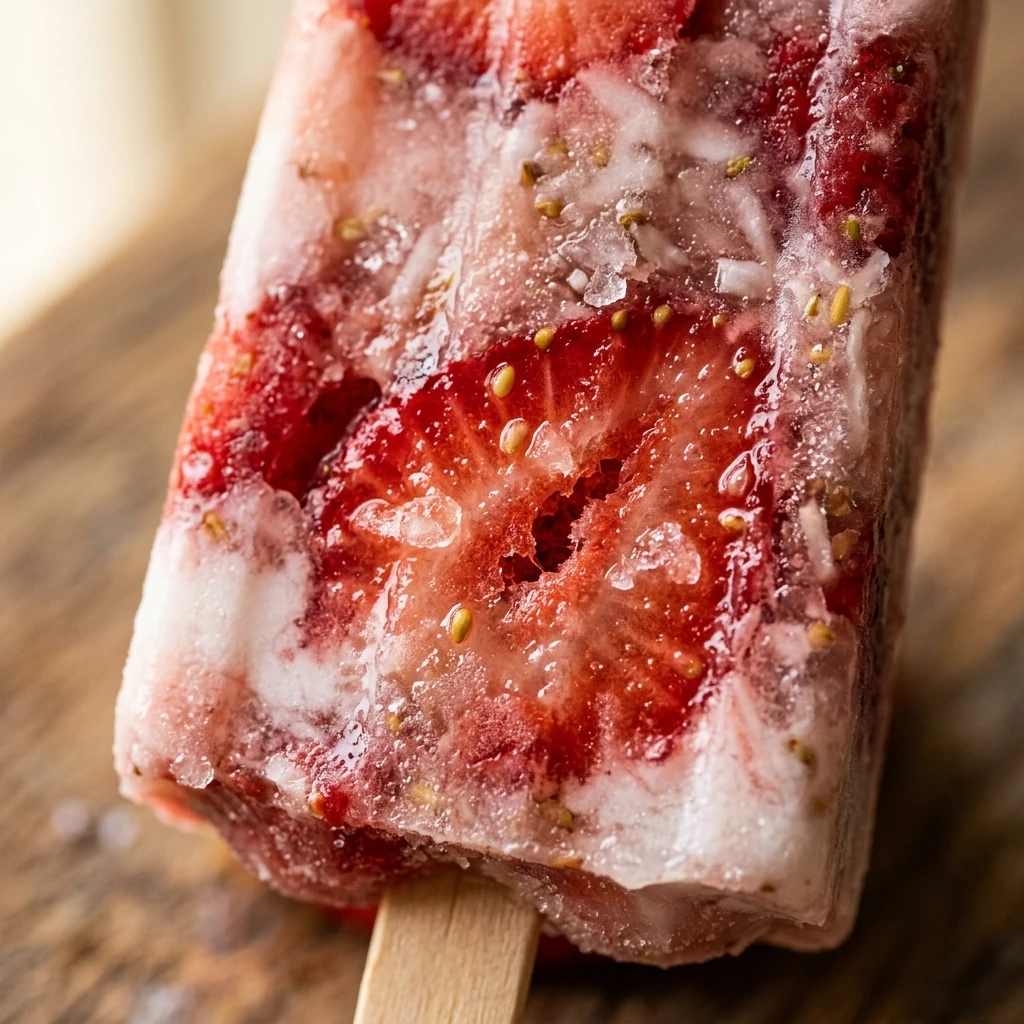

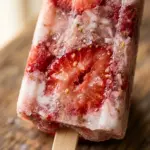
Cooling down on a hot summer afternoon has never been more delicious or healthy. These Dairy Free Fruit Pops are the ultimate refreshing treat, bursting with the vibrant flavors of real, sun-ripened fruit. Unlike store-bought versions that are often loaded with artificial dyes and refined sugars, these homemade popsicles are wholesome, hydrating, and naturally sweet.
Whether you are looking for a kid-friendly snack or a light dessert to enjoy after a backyard barbecue, these popsicles hit the spot. They are incredibly easy to assemble and customize based on whatever fruit you have on hand. Best of all, they are completely free of dairy, making them a safe and inclusive treat for everyone at the table.
Recipe Information
- Prep Time: 15 minutes
- Cook Time: 0 minutes
- Total Time: 15 minutes
- Servings: 6 popsicles
- Difficulty Level: Easy
Nutrition Information
- Calories per serving: 65 kcal
- Protein: 1g
- Carbohydrates: 16g
- Fat: 0.5g
- Fiber: 2g
- Sugar: 12g
- Sodium: 5mg
Why Make This Dairy Free Fruit Pops
Making your own Dairy Free Fruit Pops is a fantastic way to control exactly what goes into your body. You get to skip the preservatives and high-fructose corn syrup found in commercial brands. Instead, you get a boost of vitamins and antioxidants from fresh fruit, making these a guilt-free indulgence for any time of day.
These popsicles are also a great way to reduce food waste. If you have berries or mangoes that are getting a bit too soft to eat fresh, blending them into a popsicle base gives them a new life. They are customizable, allergy-friendly, and require no special cooking skills—just a blender and a freezer!
How to Make Dairy Free Fruit Pops
Creating these icy treats is a fun and simple process that the whole family can join in on. By following a few easy steps, you will transform fresh fruit and a splash of liquid into beautiful, layered, or blended frozen delights that look as good as they taste.
Ingredients
- 2 cups fresh strawberries, hulled and sliced
- 1 cup ripe mango chunks
- 1 cup coconut water (or unsweetened almond milk)
- 2 tablespoons maple syrup or honey (optional)
- 1 tablespoon fresh lime juice
- 1/2 cup whole blueberries (for texture)
Directions
Step 1: Prepare the Fruit
Wash all your fruit thoroughly. Hull the strawberries and peel the mango. Slice the fruit into smaller pieces to ensure they blend smoothly and fit easily into your blender container.
Step 2: Blend the Mixture
Place the strawberries, mango chunks, coconut water, lime juice, and sweetener into a high-speed blender. Blend on high until the mixture is completely smooth and liquid. If you prefer a chunkier texture, you can pulse the blender a few times instead.
Step 3: Add Whole Fruit Pieces
Drop a few whole blueberries or small bits of chopped fruit into the bottom of each popsicle mold. This adds a beautiful visual element and a nice burst of texture when you take a bite.
Step 4: Fill the Molds
Carefully pour the blended fruit mixture into the popsicle molds. Leave about a quarter-inch of space at the top of each mold to allow for expansion as the liquid freezes. Insert the popsicle sticks according to your mold’s instructions.
Step 5: Freeze Until Solid
Place the molds in the flattest part of your freezer. Let them freeze for at least 4 to 6 hours, though overnight is best. Once they are completely firm to the touch, they are ready to be enjoyed.
How to Serve Dairy Free Fruit Pops
To serve, run the outside of the popsicle mold under warm water for about 10 to 15 seconds. This will loosen the edges and allow the pop to slide out smoothly without breaking. Serve them immediately on a plate or wrapped in a small napkin to catch any drips as they melt.
How to Store Dairy Free Fruit Pops
Keep the popsicles in their molds until you are ready to eat them. If you need to clear up mold space, you can remove all the popsicles and store them in a freezer-safe airtight bag. Place a small piece of parchment paper between each popsicle to prevent them from sticking together. They will stay fresh for up to 2 months.
Expert Tips for Perfect Dairy Free Fruit Pops
For the brightest color, use the ripest fruit possible. If your mixture feels too thick to pour, add an extra tablespoon or two of coconut water. To get perfectly straight sticks, wait until the pops have been in the freezer for about an hour before inserting the sticks; this way, the slushy mixture holds them upright.
Delicious Variations
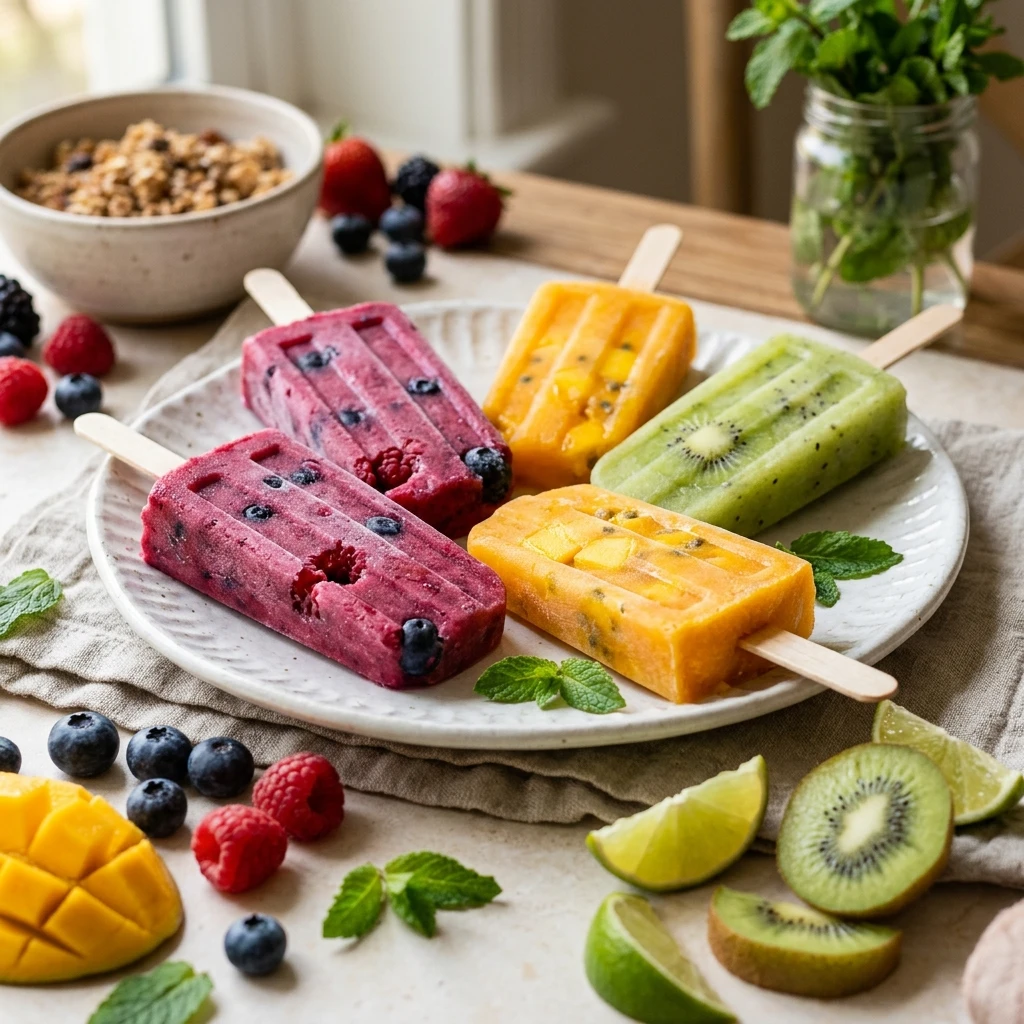
You can swap the coconut water for creamy coconut milk to create a “creamsicle” style pop. Try adding a few mint leaves to the blender for a refreshing herbal twist. For a tropical version, use pineapple and kiwi slices. If you want a protein boost, whisk in a tablespoon of chia seeds before pouring the mixture into the molds.
Frequently Asked Questions
Q: Can I use frozen fruit instead of fresh?
Yes, frozen fruit works perfectly! Just make sure to blend it well. You may need a tiny bit more liquid to get the blender moving if the fruit is rock solid.
Q: How do I make the popsicles easier to remove?
The warm water trick is the best method. Just be careful not to get water inside the mold. A quick dip or a few seconds under the tap usually does the trick.
Q: Are these popsicles toddler-friendly?
Absolutely! They are a great way to get toddlers to consume more fruit. Just ensure any whole fruit pieces added are small enough to not be a choking hazard.
Q: Do I have to add a sweetener?
No, the sweetener is optional. If your fruit is very ripe and sweet on its own, you can skip the maple syrup or honey entirely.
Q: What if I don’t have popsicle molds?
You can use small paper cups! Fill them with the mixture, cover with foil, and poke a wooden stick through the foil to keep it centered while it freezes.
Conclusion
Dairy Free Fruit Pops are a simple, healthy, and incredibly satisfying way to beat the heat. By using fresh ingredients and zero dairy, you create a snack that is light on the stomach but heavy on flavor. Give this recipe a try the next time you want a sweet treat that you can feel good about eating!
Dairy Free Fruit Pops
- Cook Time: 15 minutes
- Total Time: 15 minutes
- Diet: Dairy-Free
Ingredients
- 2 cups fresh strawberries, hulled and sliced
- 1 cup ripe mango chunks
- 1 cup coconut water (or unsweetened almond milk)
- 2 tablespoons maple syrup or honey (optional)
- 1 tablespoon fresh lime juice
- 1/2 cup whole blueberries (for texture)
Instructions
- Wash all your fruit thoroughly. Hull the strawberries and peel the mango. Slice the fruit into smaller pieces to ensure they blend smoothly and fit easily into your blender container.
- Place the strawberries, mango chunks, coconut water, liquid, lime juice, and sweetener into a high-speed blender. Blend on high until the mixture is completely smooth and liquid. If you prefer a chunkier texture, you can pulse the blender a few times instead.
- Drop a few whole blueberries or small bits of chopped fruit into the bottom of each popsicle mold. This adds a beautiful visual element and a nice burst of texture when you take a bite.
- Carefully pour the blended fruit mixture into the popsicle molds. Leave about a quarter-inch of space at the top of each mold to allow for expansion as the liquid freezes. Insert the popsicle sticks according to your mold’s instructions.
- Place the molds in the flattest part of your freezer. Let them freeze for at least 4 to 6 hours, though overnight is best. Once they are completely firm to the touch, they are ready to be enjoyed.