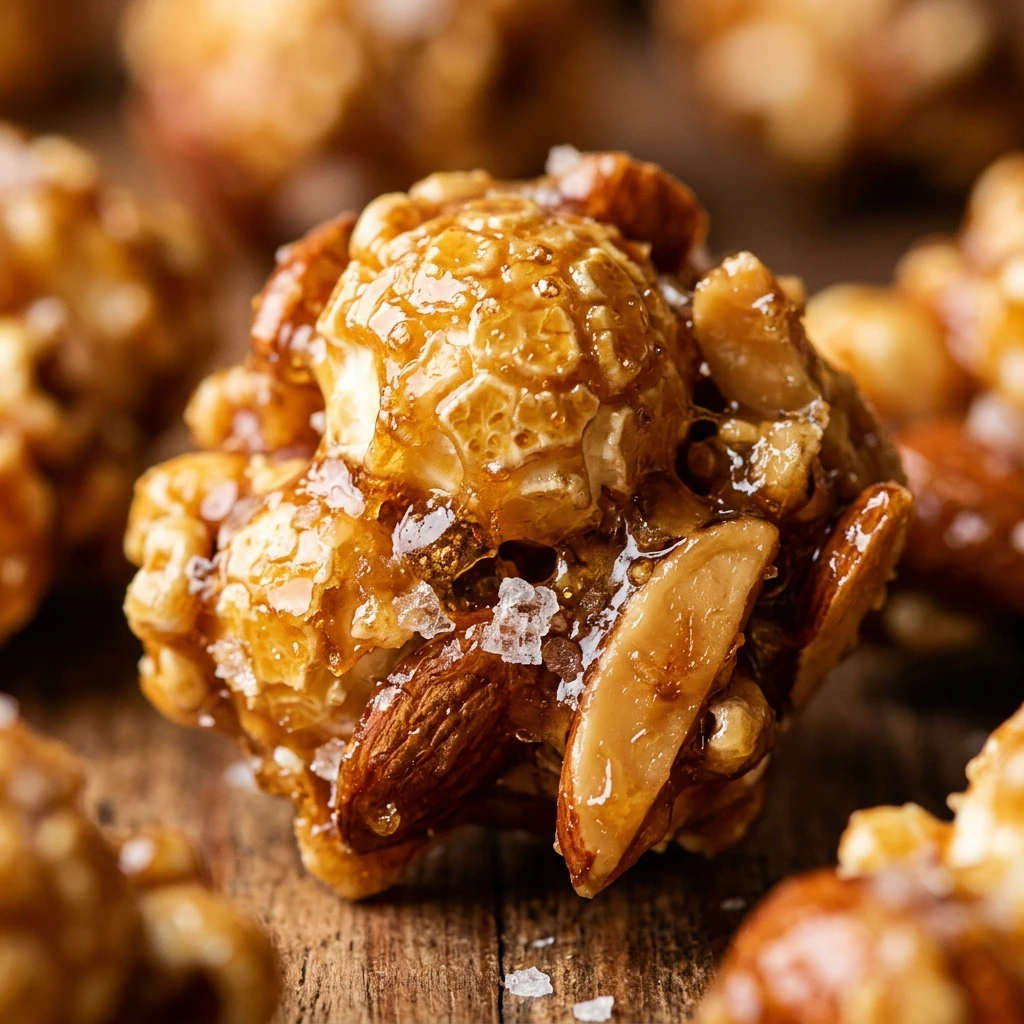

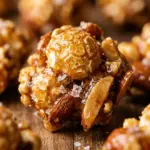
There is nothing quite like the smell of fresh caramel wafting through your kitchen. Caramel Corn Clusters are the ultimate snack for anyone who loves the combination of sweet, salty, and crunchy. These clusters are much better than anything you can buy at the store because they are made with real butter and a touch of vanilla.
Whether you are hosting a movie night or looking for a handmade gift, this recipe is a guaranteed winner. The caramel is smooth and rich, coating every single piece of popcorn perfectly. Once they cool, you can break them into chunky clusters that are impossible to stop eating.
Recipe Information
- Prep Time: 15 minutes
- Cook Time: 45 minutes
- Total Time: 60 minutes
- Servings: 8 servings
- Difficulty Level: Easy
Nutrition Information
- Calories per serving: 285 kcal
- Protein: 2g
- Carbohydrates: 42g
- Fat: 14g
- Fiber: 1.5g
- Sugar: 32g
- Sodium: 210mg
Why Make This Caramel Corn Clusters
Making your own caramel corn at home is surprisingly simple. You only need a few pantry staples to create a high-quality treat. Unlike store-bought versions, you can control the salt level and ensure there are no artificial preservatives. The texture is also superior, providing a satisfying “crunch” that doesn’t stick to your teeth too much.
These clusters are also incredibly versatile. They make a wonderful holiday gift when placed in a decorative tin or a clear cellophane bag. Plus, it is a fun activity to do with kids, as they love watching the caramel bubble up and turn golden brown.
How to Make Caramel Corn Clusters
Creating these golden clusters is a straightforward process of melting, boiling, and baking. Follow these simple steps to achieve a professional-grade snack right in your own kitchen.
Ingredients
- 8 cups popped popcorn (plain, unsalted)
- 1 cup packed light brown sugar
- 1/2 cup unsalted butter
- 1/4 cup light corn syrup
- 1/2 teaspoon salt
- 1/2 teaspoon vanilla extract
- 1/4 teaspoon baking soda
Directions
Step 1: Preparation
Preheat your oven to 250°F (120°C). Line a large rimmed baking sheet with parchment paper or a silicone baking mat. Place your popped popcorn in a very large mixing bowl, making sure to remove any unpopped kernels.
Step 2: Melt the Caramel Base
In a medium saucepan over medium heat, combine the butter, brown sugar, corn syrup, and salt. Stir the mixture constantly until the butter is completely melted and the sugar has dissolved.
Step 3: Boil the Mixture
Bring the mixture to a boil. Once it starts boiling, stop stirring and let it bubble for exactly 4 to 5 minutes. This helps the caramel reach the right consistency for a crunchy coating.
Step 4: Add Final Flavors
Remove the saucepan from the heat. Quickly stir in the vanilla extract and the baking soda. The mixture will foam up and become lighter in color; this is normal and creates a light, airy texture for the caramel.
Step 5: Coat the Popcorn
Immediately pour the hot caramel over the popcorn in the large bowl. Use a large spoon or spatula to toss the popcorn gently until every piece is well-coated. Work quickly before the caramel starts to set.
Step 6: Bake for Crunch
Spread the coated popcorn onto your prepared baking sheet in an even layer. Bake for 45 minutes, stirring every 15 minutes. This step dries out the caramel so it isn’t sticky and helps it stay crunchy for days.
Step 7: Cool and Break
Remove the pan from the oven and let the popcorn cool completely on the tray. Once cooled and hardened, break the large mass into bite-sized clusters with your hands.
How to Serve Caramel Corn Clusters
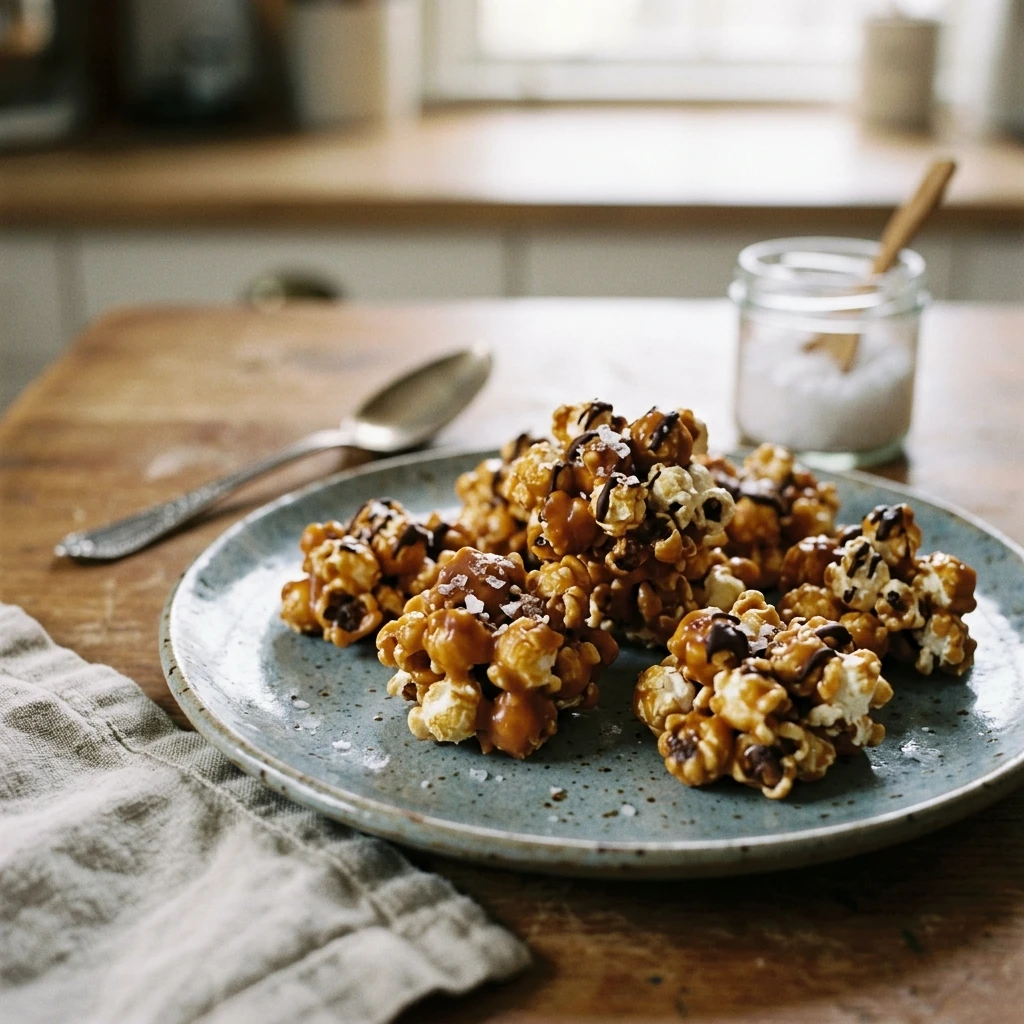
Serve these clusters in a large communal bowl for a party or movie night. For a fancy touch, you can drizzle them with melted dark chocolate before they cool. They also look beautiful served in individual paper cones or colorful cupcake liners at a dessert buffet.
How to Store Caramel Corn Clusters
Keep your caramel corn clusters in an airtight container at room temperature. They will stay fresh and crunchy for up to two weeks. Avoid storing them in the refrigerator, as the moisture can make the caramel sticky and chewy.
Expert Tips for Perfect Caramel Corn Clusters
The most important tip is to remove all unpopped kernels before adding the caramel. No one wants a surprise toothache! Additionally, make sure your baking soda is fresh, as this is what gives the caramel its light and crispy texture. If you like a deeper flavor, let the sugar mixture boil until it reaches a dark amber color before adding the vanilla.
Delicious Variations
You can easily customize this recipe by adding 1 cup of roasted peanuts, pecans, or almonds to the popcorn before pouring the caramel. For a “salted caramel” version, sprinkle a little extra sea salt over the tray right after you take it out of the oven. During the holidays, add a dash of cinnamon or pumpkin spice to the caramel for a festive twist.
Frequently Asked Questions
Q: Can I make this without corn syrup?
Yes, you can substitute honey or maple syrup, though the texture may be slightly more chewy and the flavor will change.
Q: My caramel corn is sticky. What went wrong?
Sticky caramel corn usually means it wasn’t baked long enough. The baking process helps evaporate the moisture in the caramel to make it crisp.
Q: What is the best popcorn to use?
Mushroom popcorn is ideal because it pops into large, sturdy rounds, but standard yellow or white popcorn works perfectly fine too.
Q: Can I use microwave popcorn?
You can, but make sure it is plain and unsalted. Pre-buttered microwave popcorn might make the caramel slide off or become too greasy.
Q: How do I get the caramel off my saucepan?
Fill the saucepan with water and bring it to a boil. The hot water will dissolve the hardened caramel, making cleanup a breeze.
Conclusion
Caramel Corn Clusters are a timeless treat that brings joy to everyone who tries them. With a few simple ingredients and a little bit of patience in the oven, you can create a snack that is far superior to any store-bought alternative. Enjoy the process of making it, and enjoy the delicious, crunchy results even more!
Caramel Corn Clusters
- Cook Time: 60 minutes
- Total Time: 1 hour
- Diet: Vegetarian
Ingredients
- 8 cups popped popcorn (plain, unsalted)
- 1 cup packed light brown sugar
- 1/2 cup unsalted butter
- 1/4 cup light corn syrup
- 1/2 teaspoon salt
- 1/2 teaspoon vanilla extract
- 1/4 teaspoon baking soda
Instructions
- Preheat your oven to 250°F (120°C). Line a large rimmed baking sheet with parchment paper or a silicone baking mat. Place your popped popcorn in a very large mixing bowl, making sure to remove any unpopped kernels.
- In a medium saucepan over medium heat, combine the butter, brown sugar, corn syrup, and salt. Stir the mixture constantly until the butter is completely melted and the sugar has dissolved.
- Bring the mixture to a boil. Once it starts boiling, stop stirring and let it bubble for exactly 4 to 5 minutes. This helps the caramel reach the right consistency for a crunchy coating.
- Remove the saucepan from the heat. Quickly stir in the vanilla extract and the baking soda. The mixture will foam up and become lighter in color; this is normal and creates a light, airy texture for the caramel.
- Immediately pour the hot caramel over the popcorn in the large bowl. Use a large spoon or spatula to toss the popcorn gently until every piece is well-coated. Work quickly before the caramel starts to set.
- Spread the coated popcorn onto your prepared baking sheet in an even layer. Bake for 45 minutes, stirring every 15 minutes. This step dries out the caramel so it isn’t sticky and helps it stay crunchy for days.
- Remove the pan from the oven and let the popcorn cool completely on the tray. Once cooled and hardened, break the large mass into bite-sized clusters with your hands.