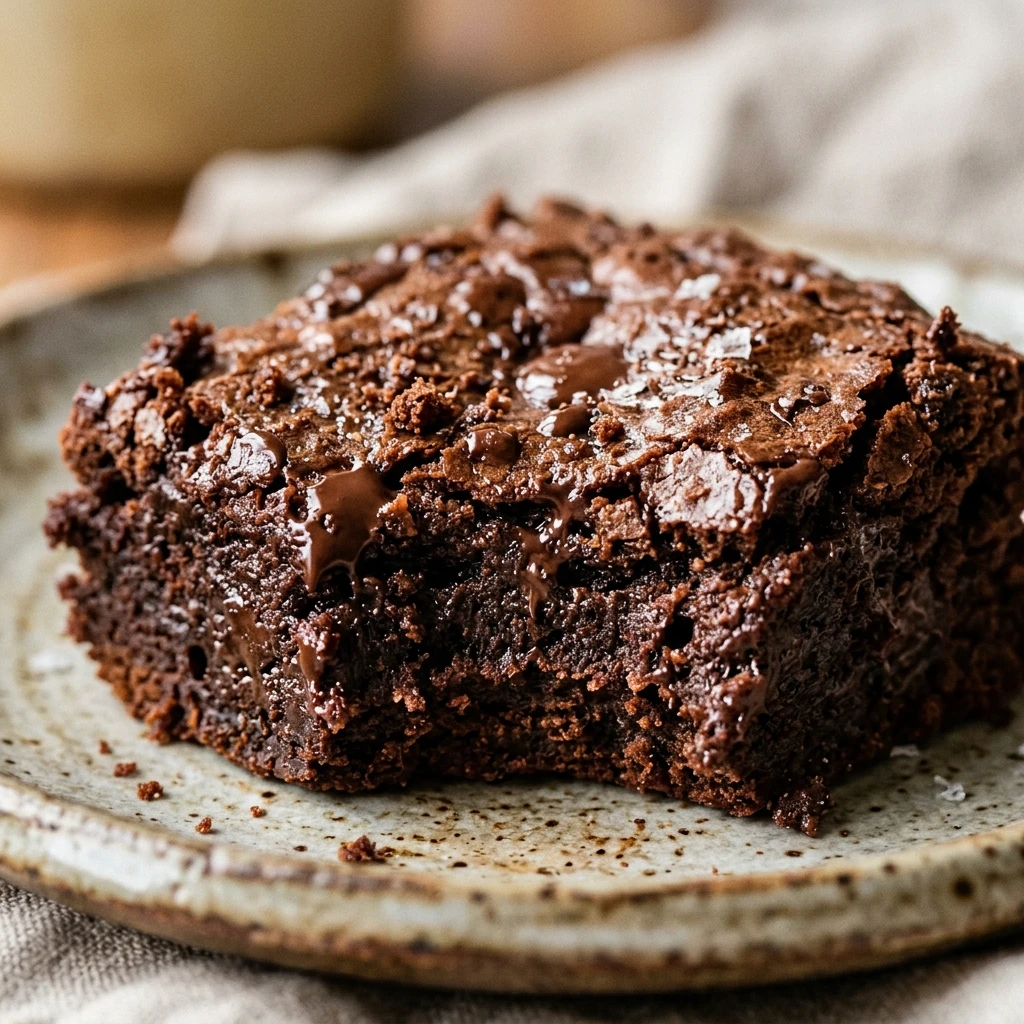

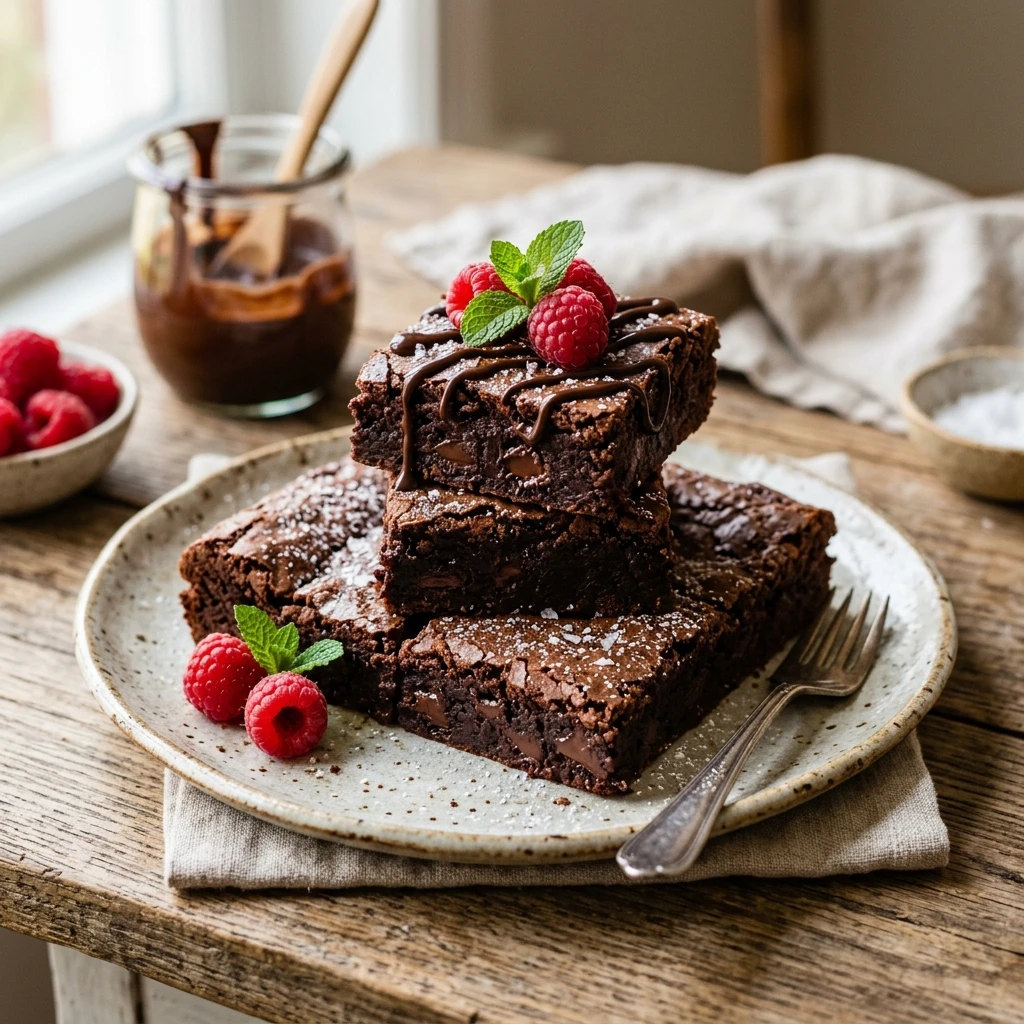
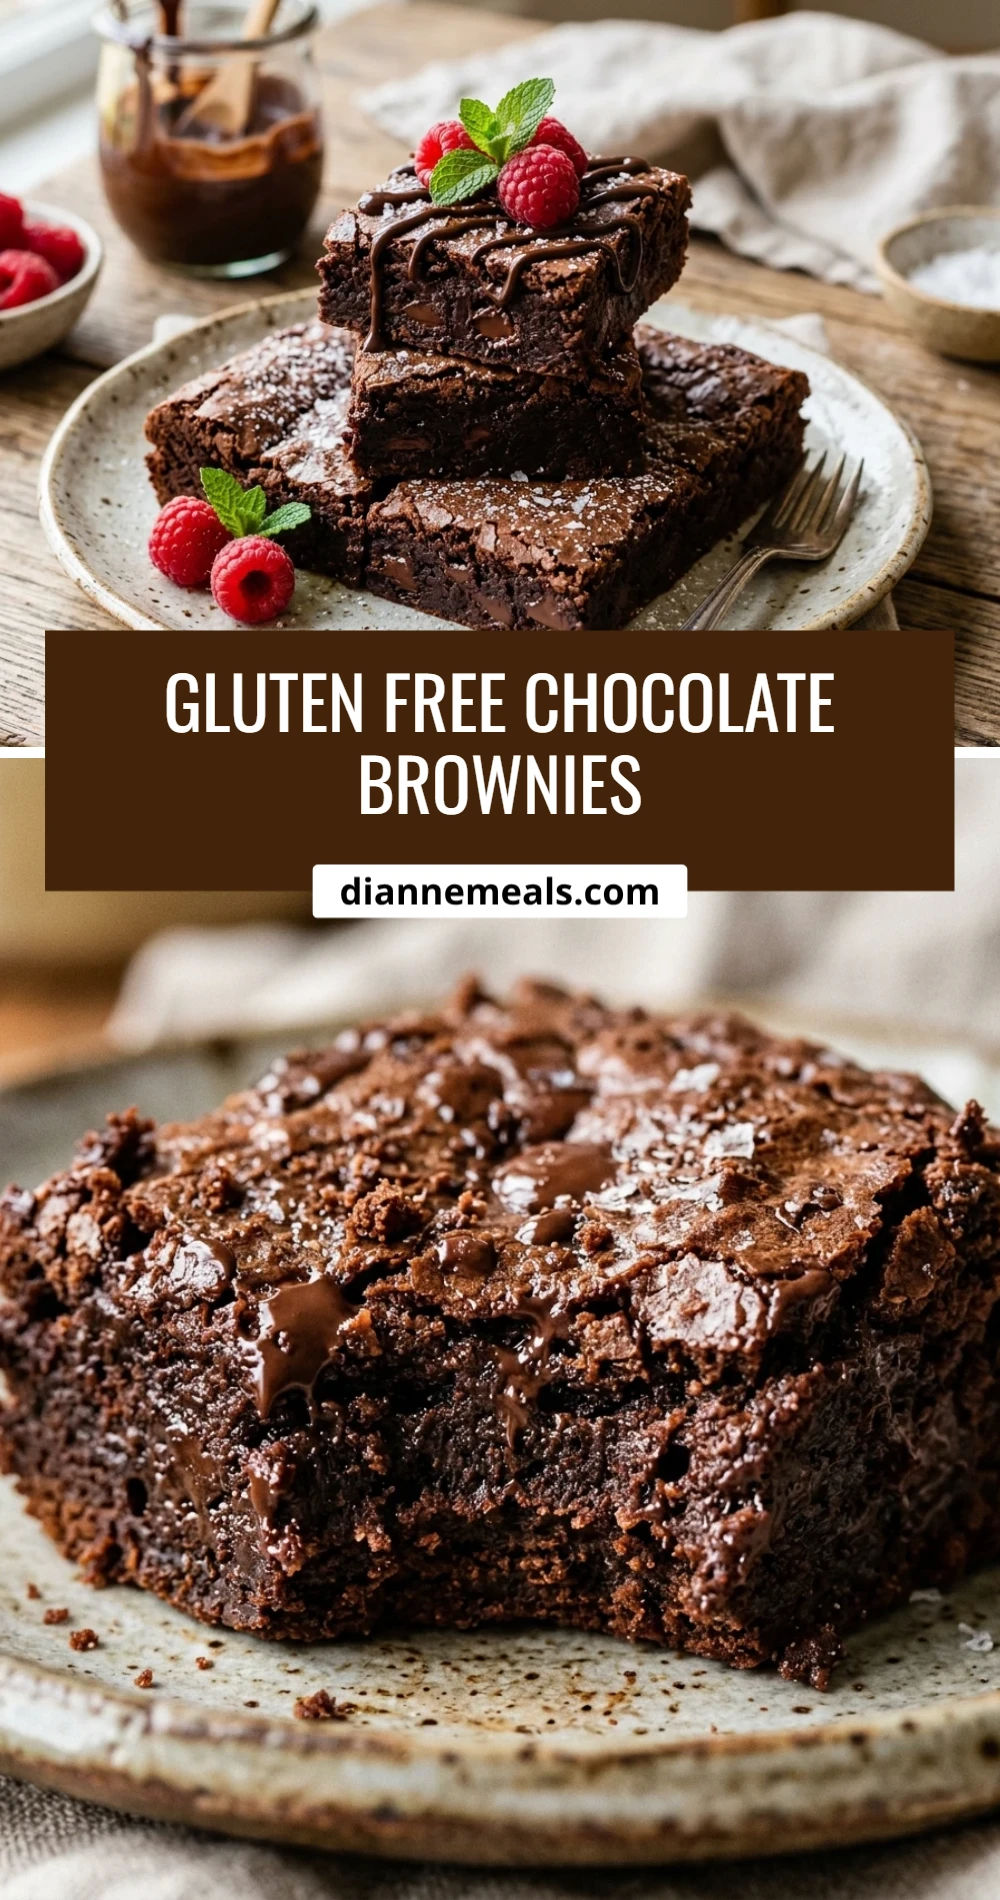
Finding the perfect gluten-free brownie can often feel like an impossible quest. Many recipes result in treats that are either too dry, too crumbly, or lack that deep chocolate punch we all crave. This recipe changes everything. These brownies are incredibly fudgy, boast a beautiful crackly top, and have a rich, decadent flavor that will make you forget they are gluten-free.
Whether you are baking for someone with a gluten sensitivity or you simply want a world-class chocolate dessert, this recipe is a guaranteed crowd-pleaser. The texture is dense and moist, and they hold together perfectly. Get ready to meet your new favorite dessert that just happens to be safe for a gluten-free lifestyle.
Recipe Information
- Prep Time: 15 minutes
- Cook Time: 30 minutes
- Total Time: 45 minutes
- Servings: 16 brownies
- Difficulty Level: Easy
Nutrition Information
- Calories per serving: 245 kcal
- Protein: 3g
- Carbohydrates: 32g
- Fat: 14g
- Fiber: 2g
- Sugar: 22g
- Sodium: 115mg
Why Make This Gluten Free Chocolate Brownies
The main reason to make these brownies is the texture. Unlike many gluten-free baked goods that can be gritty, these use a specific balance of fats and sugars to create a silky, melt-in-your-mouth experience. They rely on high-quality cocoa powder and real butter to provide a professional-bakery taste right in your own kitchen.
Another great reason is the simplicity. You do not need a complicated list of various starches and gums. By using a high-quality gluten-free all-purpose flour blend, you can whip these up in one bowl with minimal cleanup. They are perfect for parties, school treats, or a cozy night in.
How to Make Gluten Free Chocolate Brownies
Making these brownies is a straightforward process that focuses on properly emulsifying the fats and sugars to ensure that signature shiny, thin crust on top. Follow these simple steps to achieve brownie perfection every single time.
Ingredients
- 1 cup (225g) unsalted butter, melted and slightly cooled
- 2 cups granulated sugar
- 4 large eggs, room temperature
- 1 tablespoon pure vanilla extract
- 3/4 cup unsweetened cocoa powder (Dutch-processed is best)
- 1 cup gluten-free all-purpose flour blend (ensure it contains xanthan gum)
- 1/2 teaspoon salt
- 1/2 cup semi-sweet chocolate chips (optional)
Directions
Step 1: Preheat and Prepare
Preheat your oven to 350°F (175°C). Grease an 8×8 inch square baking pan with butter or non-stick spray, and line it with parchment paper, leaving an overhang on the sides for easy removal later.
Step 2: Cream Butter and Sugar
In a large mixing bowl, combine the melted butter and granulated sugar. Whisk vigorously by hand for about 2 minutes. This helps dissolve the sugar and creates that iconic crackly brownie top.
Step 3: Add Wet Ingredients
Add the eggs one at a time, whisking well after each addition. Stir in the vanilla extract. The mixture should look smooth and slightly glossy at this stage.
Step 4: Incorporate Dry Ingredients
Sift in the cocoa powder, gluten-free flour, and salt. Use a spatula to gently fold the dry ingredients into the wet mixture until just combined. Be careful not to overmix, as this can make the brownies tough. If using, fold in the chocolate chips now.
Step 5: Bake to Perfection
Pour the batter into the prepared pan and smooth the top with a spatula. Bake for 30 to 35 minutes. A toothpick inserted into the center should come out with a few moist crumbs attached, but not raw batter.
Step 6: Cool and Slice
Remove the pan from the oven and let the brownies cool completely in the pan on a wire rack. This is crucial for gluten-free baking, as it allows the structure to set. Once cool, lift them out using the parchment paper and slice into 16 squares.
How to Serve Gluten Free Chocolate Brownies
These brownies are incredible when served slightly warm with a scoop of vanilla bean ice cream. The warmth of the brownie begins to melt the ice cream, creating a delicious sauce. For a more elegant presentation, you can dust the tops with powdered sugar or drizzle them with homemade salted caramel sauce. They also pair perfectly with a cold glass of milk or a hot cup of coffee.
How to Store Gluten Free Chocolate Brownies
Store your brownies in an airtight container at room temperature for up to 3 days. If you want them to last longer, you can keep them in the refrigerator for up to a week; just note that they will become much firmer when cold. For long-term storage, wrap individual brownies in plastic wrap and place them in a freezer-safe bag for up to 3 months. Thaw at room temperature before eating.
Expert Tips for Perfect Gluten Free Chocolate Brownies
Always use room temperature eggs. Cold eggs can cause the melted butter to seize up, resulting in an uneven batter texture. Additionally, make sure your gluten-free flour blend includes xanthan gum. If it doesn’t, you will need to add 1/2 teaspoon of it yourself to prevent the brownies from being too crumbly. Finally, do not overbake! Gluten-free treats can dry out faster than traditional ones, so start checking them 5 minutes before the timer goes off.
Delicious Variations
You can easily customize this recipe to suit your taste. Add 1/2 cup of chopped walnuts or pecans for a delightful crunch. For a “sweet and salty” vibe, sprinkle a pinch of flaky sea salt over the batter before baking. If you love mint, add a teaspoon of peppermint extract and some crushed candy canes. You can also swirl in 1/4 cup of peanut butter or almond butter into the top of the batter before placing it in the oven for a marbled effect.
Frequently Asked Questions
Q: Can I make these dairy-free?
Yes, you can substitute the melted butter with an equal amount of melted coconut oil or a vegan butter alternative. Just ensure your chocolate chips are also dairy-free.
Q: Why are my brownies gritty?
Grittiness in gluten-free baking usually comes from the rice flour in the blend. Let the batter sit in the pan for 15 minutes before baking to allow the flour to hydrate, or try a more finely milled flour brand.
Q: Can I use almond flour instead of a blend?
This specific recipe is designed for an all-purpose gluten-free flour blend. Using only almond flour will require different ratios of eggs and fat, so it is not a direct 1:1 swap here.
Q: How do I get the shiny crackly top?
The secret is whisking the sugar and melted butter together very well, and then whisking again after adding the eggs. This creates a meringue-like layer that rises to the top during baking.
Q: My brownies are too soft to cut, what happened?
Gluten-free brownies need more time to set than regular brownies. If they are falling apart, let them cool completely or even chill them in the fridge for an hour before slicing.
Conclusion
These gluten-free chocolate brownies prove that you don’t have to sacrifice flavor or texture when baking without wheat. With their fudgy interior and rich chocolate taste, they are sure to become a staple in your kitchen. Give them a try for your next special occasion or whenever you need a chocolate fix—everyone will be asking for the recipe!
Gluten Free Chocolate Brownies
- Cook Time: 45 minutes
- Total Time: 45 minutes
- Diet: Gluten-Free
Ingredients
- 1 cup (225g) unsalted butter, melted and slightly cooled
- 2 cups granulated sugar
- 4 large eggs, room temperature
- 1 tablespoon pure vanilla extract
- 3/4 cup unsweetened cocoa powder (Dutch-processed is best)
- 1 cup gluten-free all-purpose flour blend (ensure it contains xanthan gum)
- 1/2 teaspoon salt
- 1/2 cup semi-sweet chocolate chips (optional)
Instructions
- Step 1: Preheat and Prepare. Preheat your oven to 350°F (175°C). Grease an 8×8 inch square baking pan with butter or non-stick spray, and line it with parchment paper, leaving an overhang on the sides for easy removal later.
- Step 2: Cream Butter and Sugar. In a large mixing bowl, combine the melted butter and granulated sugar. Whisk vigorously by hand for about 2 minutes. This helps dissolve the sugar and creates that iconic crackly brownie top.
- Step 3: Add Wet Ingredients. Add the eggs one at a time, whisking well after each addition. Stir in the vanilla extract. The mixture should look smooth and slightly glossy at this stage.
- Step 4: Incorporate Dry Ingredients. Sift in the cocoa powder, gluten-free flour, and salt. Use a spatula to gently fold the dry ingredients into the wet mixture until just combined. Be careful not to overmix, as this can make the brownies tough. If using, fold in the chocolate chips now.
- Step 5: Bake to Perfection. Pour the batter into the prepared pan and smooth the top with a spatula. Bake for 30 to 35 minutes. A toothpick inserted into the center should come out with a few moist crumbs attached, but not raw batter.
- Step 6: Cool and Slice. Remove the pan from the oven and let the brownies cool completely in the pan on a wire rack. This is crucial for gluten-free baking, as it allows the structure to set. Once cool, lift them out using the parchment paper and slice into 16 squares.