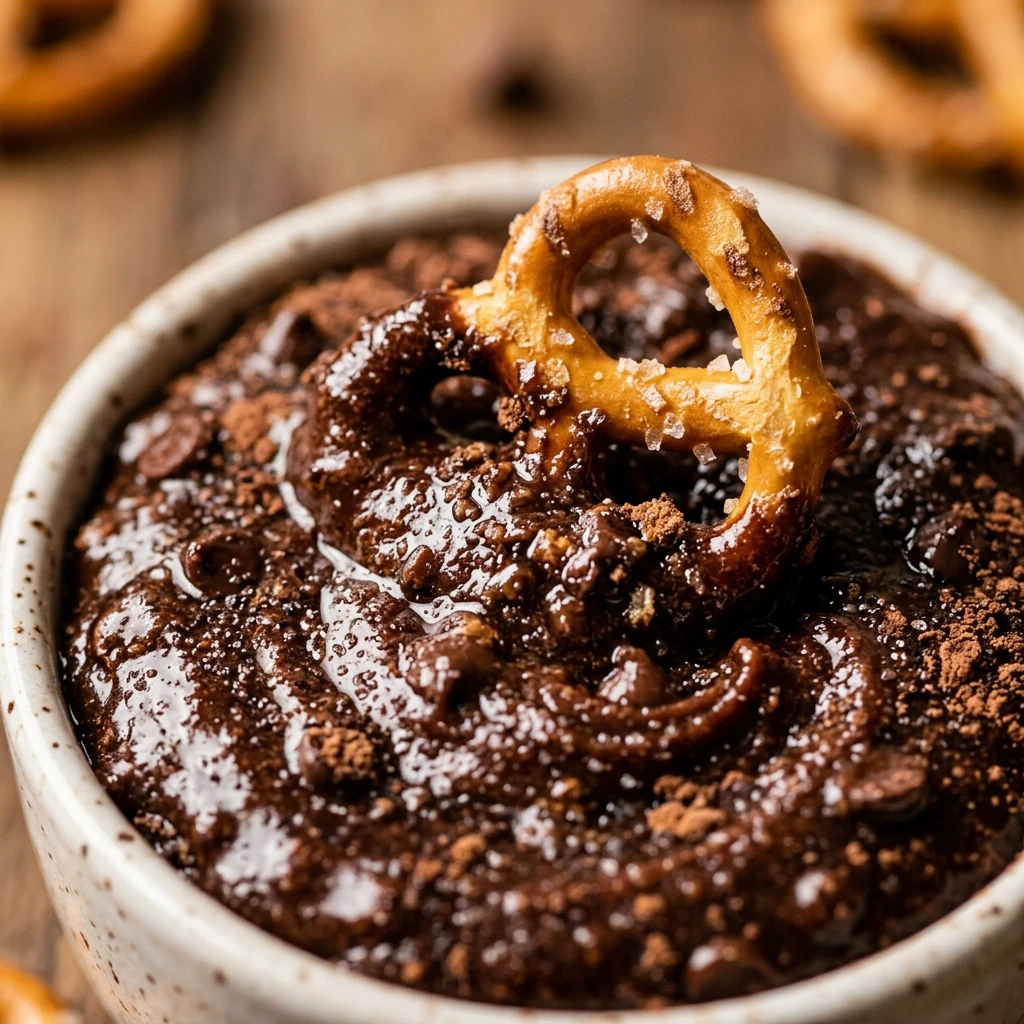

If you have ever found yourself scraping the bottom of a brownie batter bowl with a spatula, this recipe is for you. Brownie Batter Dip Cups offer all the rich, chocolatey indulgence of raw batter but in a completely safe, edible form. These individual servings are perfect for parties, movie nights, or a simple weeknight treat that feels extra special.
The beauty of this dessert lies in its creamy texture and deep cocoa flavor. By portioning the dip into individual cups, you create a mess-free experience that is as adorable as it is delicious. It is a no-bake wonder that comes together in just a few minutes, making it a go-to solution for any sweet tooth craving.
Recipe Information
- Prep Time: 15 minutes
- Cook Time: 5 minutes
- Total Time: 20 minutes
- Servings: 10 servings
- Difficulty Level: Easy
Nutrition Information
- Calories per serving: 285 kcal
- Protein: 3g
- Carbohydrates: 34g
- Fat: 16g
- Fiber: 2g
- Sugar: 26g
- Sodium: 115mg
Why Make This Brownie Batter Dip Cups
These dip cups are the ultimate crowd-pleaser. Unlike a traditional brownie tray, these individual portions prevent the dreaded “double-dipping” at parties. They are also incredibly versatile; you can pair them with everything from salty pretzels to fresh strawberries. It is a sophisticated yet playful dessert that appeals to both kids and adults alike.
Another reason to love this recipe is that it requires absolutely no oven time. During hot summer months or when your oven is busy with a main course, this no-bake dessert saves the day. It uses pantry staples you likely already have, allowing you to whip up a gourmet-style treat on short notice.
How to Make Brownie Batter Dip Cups
Creating these decadent cups is a simple process of whipping and folding. Follow these easy steps to ensure a light, fluffy, and intensely chocolatey result every single time.
Ingredients
- 1 cup all-purpose flour
- 8 oz cream cheese, softened
- 1/2 cup unsalted butter, softened
- 1 cup powdered sugar
- 1/2 cup unsweetened cocoa powder
- 1 teaspoon vanilla extract
- 2-3 tablespoons milk (as needed for consistency)
- 1/2 cup mini chocolate chips
- Assorted dippers: Graham crackers, pretzels, strawberries, or apple slices
Directions
Step 1: Heat-Treat the Flour
Place the all-purpose flour in a microwave-safe bowl. Microwave on high in 30-second intervals, stirring in between, until the flour reaches a temperature of 160°F (71°C). This ensures the flour is safe to consume raw. Let it cool completely before using.
Step 2: Cream the Base
In a large mixing bowl, beat the softened cream cheese and butter together using a hand mixer or stand mixer. Continue until the mixture is light, fluffy, and completely smooth with no lumps.
Step 3: Add Sweetener and Cocoa
Sift in the powdered sugar and cocoa powder to avoid clumps. Add the vanilla extract. Mix on low speed initially so the powder doesn’t fly out of the bowl, then increase to medium speed until well combined.
Step 4: Incorporate Flour and Milk
Add the cooled, heat-treated flour to the mixture. Mix until just combined. If the batter is too thick, add milk one tablespoon at a time until you reach a creamy, dip-like consistency.
Step 5: Fold in Chocolate Chips
Using a spatula, gently fold in the mini chocolate chips. This adds a delightful crunch and extra bursts of chocolate throughout the dip.
Step 6: Portion and Chill
Scoop the mixture into small individual serving cups or ramekins. For the best texture and flavor, refrigerate the cups for at least 30 minutes before serving. This allows the flavors to meld and the dip to firm up slightly.
How to Serve Brownie Batter Dip Cups
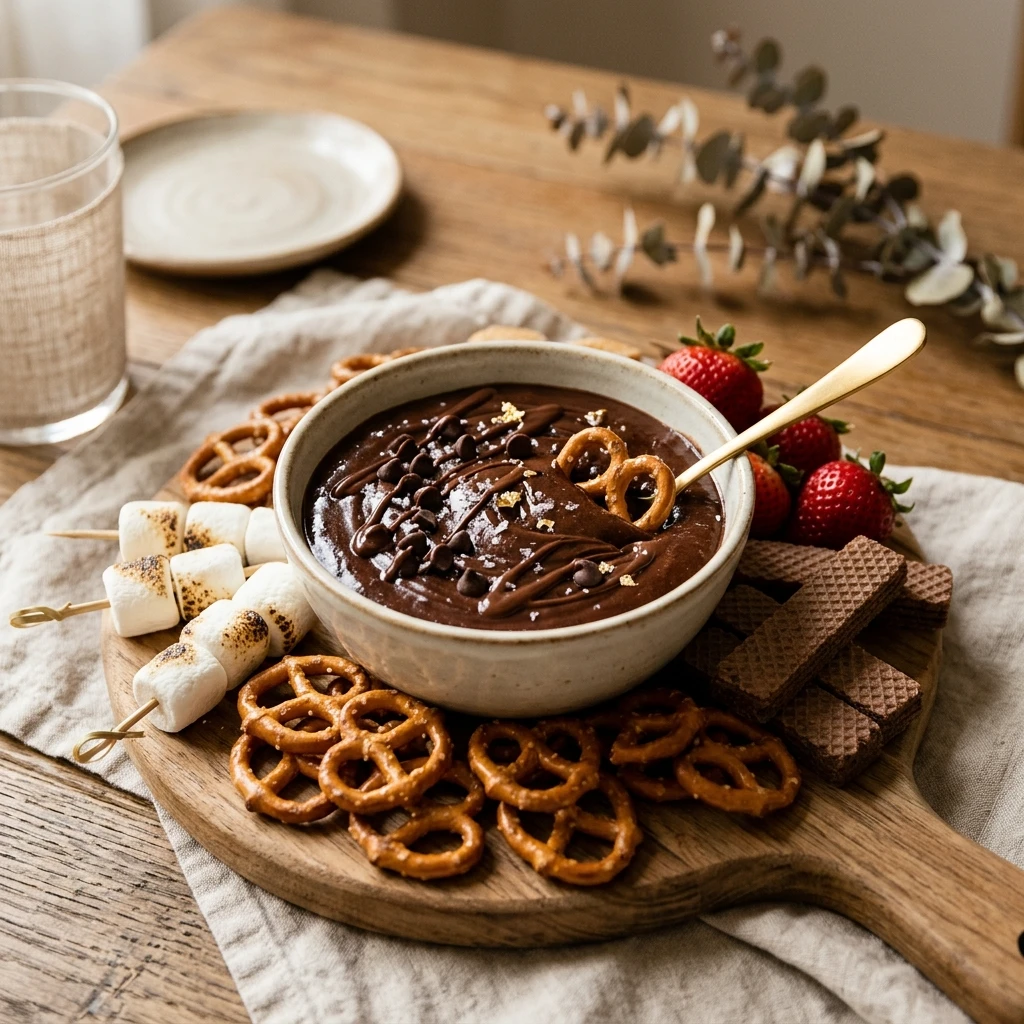
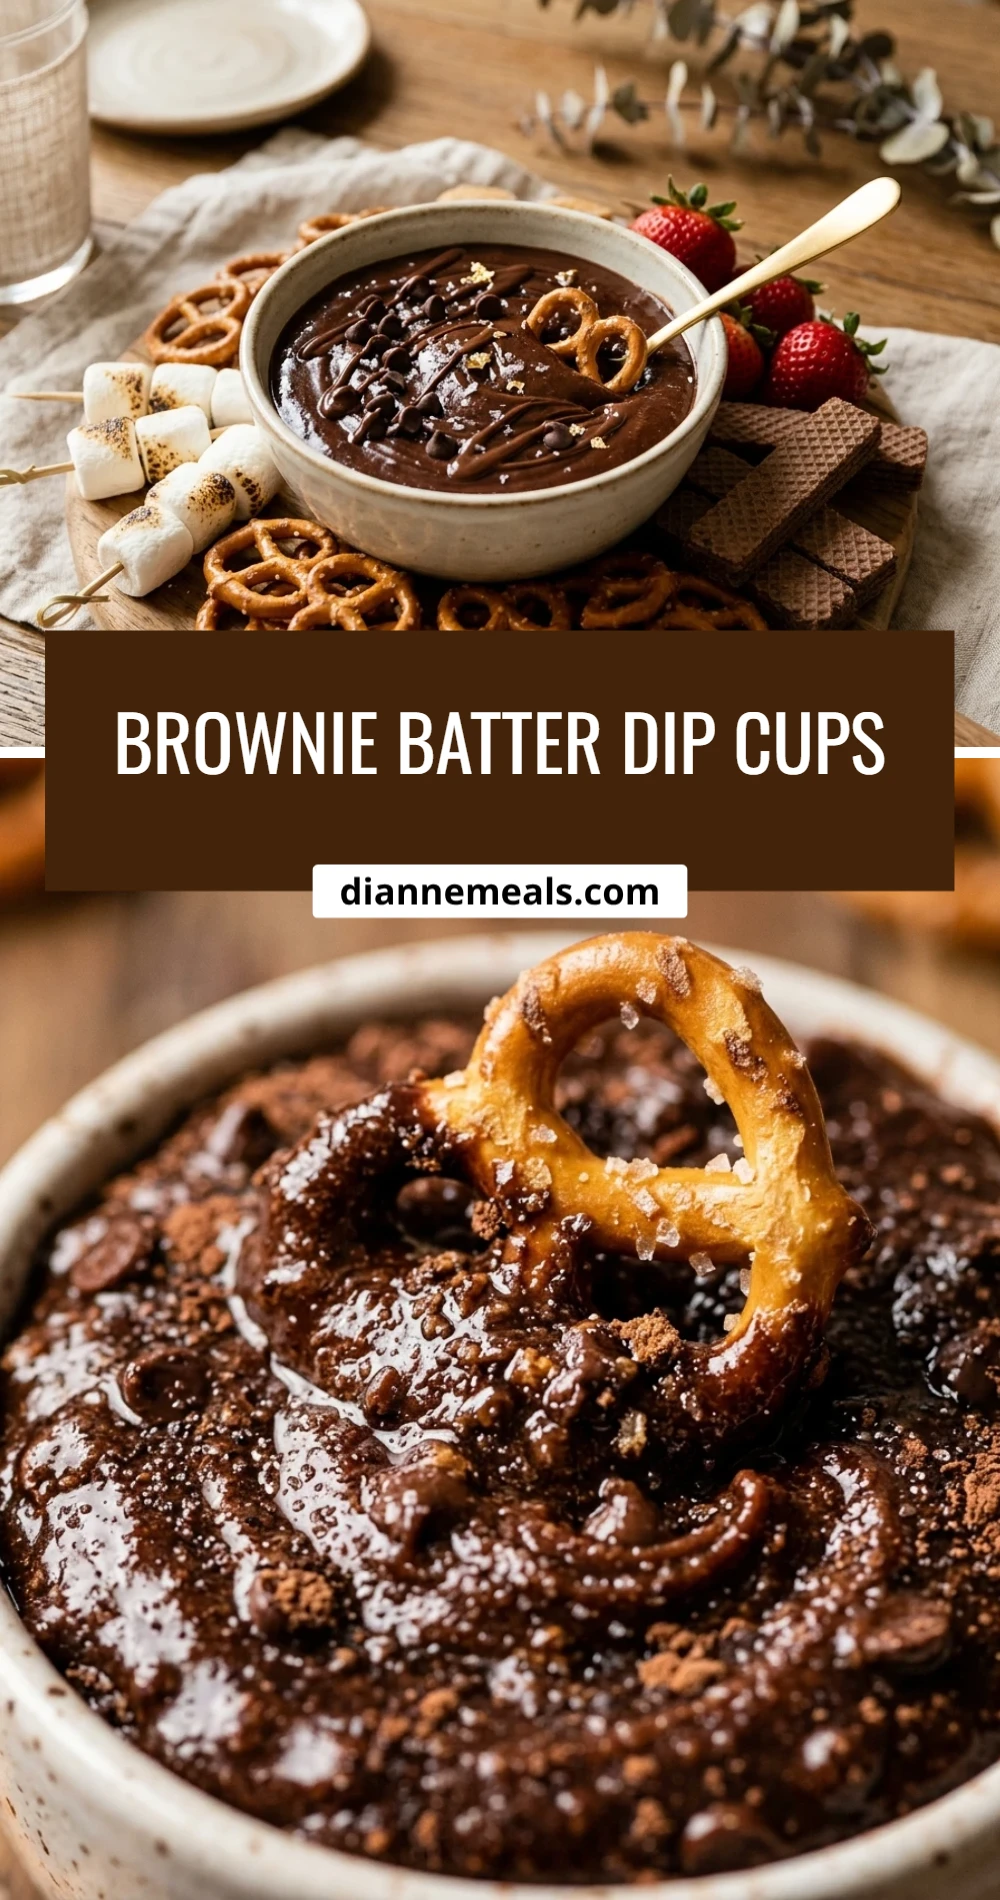
Presentation is key with these individual cups. You can top each cup with a few extra mini chocolate chips, a sprinkle of sea salt, or a dusting of powdered sugar. Serve the cups on a large platter surrounded by a variety of dippers. Excellent choices include salty pretzel sticks, crisp graham crackers, vanilla wafers, or fresh fruit like strawberries and banana slices. For a more indulgent touch, provide small spoons so guests can enjoy the batter on its own.
How to Store Brownie Batter Dip Cups
If you have leftovers, cover each cup tightly with plastic wrap or transfer the dip to an airtight container. Store in the refrigerator for up to 5 days. If the dip becomes too firm in the fridge, let it sit at room temperature for 10-15 minutes before serving to regain its creamy texture. You can also freeze the dip for up to 2 months; simply thaw it overnight in the refrigerator before using.
Expert Tips for Perfect Brownie Batter Dip Cups
To achieve the best results, always use room-temperature cream cheese and butter. This ensures a silky smooth base without any stubborn lumps. Sifting your cocoa powder is another essential step, as cocoa tends to clump in the container. If you want a deeper chocolate flavor, try using Dutch-processed cocoa powder. Finally, do not skip the heat-treating process for the flour; it is vital for food safety when making any “raw” dough or batter dessert.
Delicious Variations
You can easily customize this recipe to suit your preferences. For a Peanut Butter Brownie Dip, swirl in 1/4 cup of creamy peanut butter during the creaming stage. If you love mint, add a 1/2 teaspoon of peppermint extract and use mint chocolate chips. For a bit of crunch, fold in crushed walnuts or pecans. You can also make a “S’mores” version by topping the cups with marshmallow fluff and toasted graham cracker crumbs.
Frequently Asked Questions
Q: Is it safe to eat raw flour in this dip?
It is only safe if you heat-treat the flour first. Heating the flour to 160°F kills any potential bacteria, making it perfectly safe for no-bake recipes.
Q: Can I use a boxed brownie mix instead?
Yes, you can use heat-treated boxed brownie mix instead of the flour/cocoa/sugar combination, but you may need to adjust the liquid levels to get the right consistency.
Q: How can I make this recipe vegan?
Use vegan cream cheese, a plant-based butter substitute, almond or oat milk, and dairy-free chocolate chips. The results will be just as delicious!
Q: Can I make this in advance?
Absolutely. These are perfect for making a day ahead. Just keep them covered in the fridge until you are ready to serve.
Q: What if my dip is too stiff?
If the dip is too thick, simply whisk in an extra tablespoon of milk. Continue adding milk in small increments until it reaches your desired dipping consistency.
Conclusion
Brownie Batter Dip Cups are a whimsical and delicious way to enjoy the classic flavors of a brownie without the wait. They are easy to prepare, fun to serve, and always a hit at any gathering. Whether you are hosting a party or just looking for a cozy night-in snack, these chocolatey treats are sure to satisfy your cravings. Give them a try and watch them disappear!
Brownie Batter Dip Cups
- Cook Time: 20 minutes
- Total Time: 20 minutes
- Diet: Vegetarian
Ingredients
- 1 cup all-purpose flour
- 8 oz cream cheese, softened
- 1/2 cup unsalted butter, softened
- 1 cup powdered sugar
- 1/2 cup unsweetened cocoa powder
- 1 teaspoon vanilla extract
- 2–3 tablespoons milk (as needed for consistency)
- 1/2 cup mini chocolate chips
- Assorted dippers: Graham crackers, pretzels, strawberries, or apple slices
Instructions
- Heat-Treat the Flour: Place the all-purpose flour in a microwave-safe bowl. Microwave on high in 30-second intervals, stirring in between, until the flour reaches a temperature of 160°F (71°C). This ensures the flour is safe to consume raw. Let it cool completely before using.
- Cream the Base: In a large mixing bowl, beat the softened cream cheese and butter together using a hand mixer or stand mixer. Continue until the mixture is light, fluffy, and completely smooth with no lumps.
- Add Sweetener and Cocoa: Sift in the powdered sugar and cocoa powder to avoid clumps. Add the vanilla extract. Mix on low speed initially so the powder doesn’t fly out of the bowl, then increase to medium speed until well combined.
- Incorporate Flour and Milk: Add the cooled, heat-treated flour to the mixture. Mix until just combined. If the batter is too thick, add milk one tablespoon at a time until you reach a creamy, dip-like consistency.
- Fold in Chocolate Chips: Using a spatula, gently fold in the mini chocolate chips. This adds a delightful crunch and extra bursts of chocolate throughout the dip.
- Portion and Chill: Scoop the mixture into small individual serving cups or ramekins. For the best texture and flavor, refrigerate the cups for at least 30 minutes before serving. This allows the flavors to meld and the dip to firm up slightly.